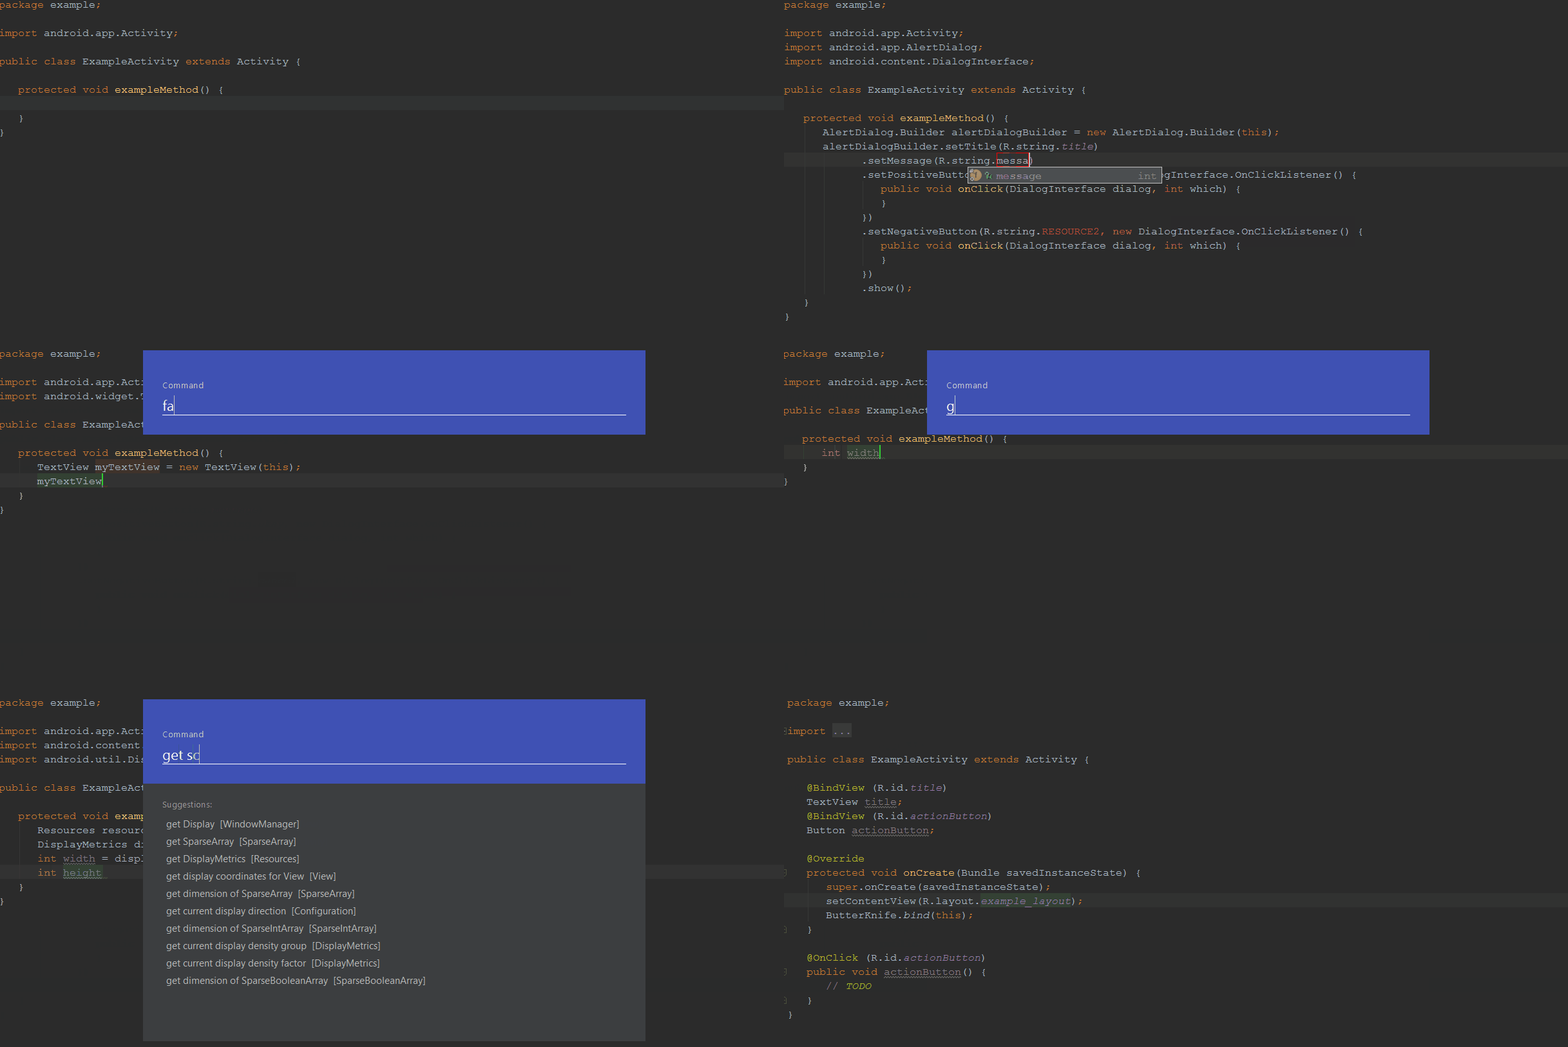
Exynap is an Android Studio plugin which helps you
find and implement the code you require in an instant

Just type whatever you are looking for
You only have to formulate a command and press Enter. Exynap has thousands of smart code solutions!
Easy to use
Remembering tons of shortcuts or Live Template abbreviations is passé. There is only one shortcut you need (Ctrl + Shift + D). Nothing else.
Ready to use within minutes
Just download the plugin from the plugin repository and begin using it, there is no sign up procedure involved.
Community Powered
Every user can add or edit smart code snippets. This community power makes Exynap better and better over time.
More than just templates
Exynap is context-aware: This helps you to write less code and getting faster results.
Privacy guaranteed
A “Data Transparency Monitor” shows you all the data that has been submitted to the backend since you launched Android Studio. Exynap will never send your implementation details, code or project related material to us.
Installation
System Requirements (OSX only)
If you are using Android Studio 2.1.X on OSX, please make sure that Android Studio does really use Java 1.7+ as runtime. Please follow this troubleshooting post if you encounter a crash after plugin installation on OSX.
Installation Steps
- Launch Android Studio 2.1.X (or newer).
- Open the settings dialog and select “Plugins” in the left-hand pane.
- Click “Browse Repositories” and enter “Exynap” into the search field.
- Select “Exynap” and click on “Install”
- Confirm the installation of Exynap and restart Android Studio
After Android Studio restarts, you will be presented with a ‘First Steps’ dialog. Please complete this short tutorial, as it will help you understand Exynap better, thereby increasing your productivity; Also take a look at the detailed instructions that follow, to fully understand how to use Exynap.
First Steps
To start using Exynap, place the cursor inside the Java method where the required code needs to be inserted (this is usually at the start of a new empty line).
There are only two cases when Exynap does not require a new line:
Case #1: When the selected variable is to be used for instance method calls..

Case #2: When the evaluated result of Exynap needs to be assigned to a variable.

In every other case, the cursor should be placed at the start of a new line. However, a future release will add support for code insertion inside existing statements too.
If the inserted code needs further input, Exynap will automatically place the cursor at the position that requires your input. Just type the value you want and press “Tab”. You can also press “Esc” if you do not want to fill the placeholders at that point of time. (Same behaviour as Intellij Live Templates)
It is absolutely necessary that you enter a command (e.g. “set repeating alarm”) and not a common search query (e.g. “how to set a repeating alarm”) in the input field.
Please note that a command always starts with a verb.
Examples:
- hide softkeyboard
- create time picker dialog
- set Actionbar title
If your command (e.g. “calculate the answer of life”) cannot be interpreted by Exynap, you can press “Ctrl + Enter” to trigger a Google search.
Exynap helps you in implementing code based on the Android platform API only. External libraries and the "core" Java API are not supported yet.
Note: You can always undo a code insertion by using the regular undo shortcut (Ctrl + Z)
Examples
The following table provides some examples to give you an idea of the capabilities of Exynap.
Please note that you do not have exactly enter these commands!
Example: "hide keyboard", "close keyboard" and "close softkeyboard" are all doing the same thing.
| Command | Result |
|---|---|
| bind view | Binds the selected XML layout file (either native Android binding or via Butterknife) |
| create alert dialog | Creates a new AlertDialog |
| convert px into dp | Converts a pixel value into dp value |
| hide keyboard | Hides an open keyboard |
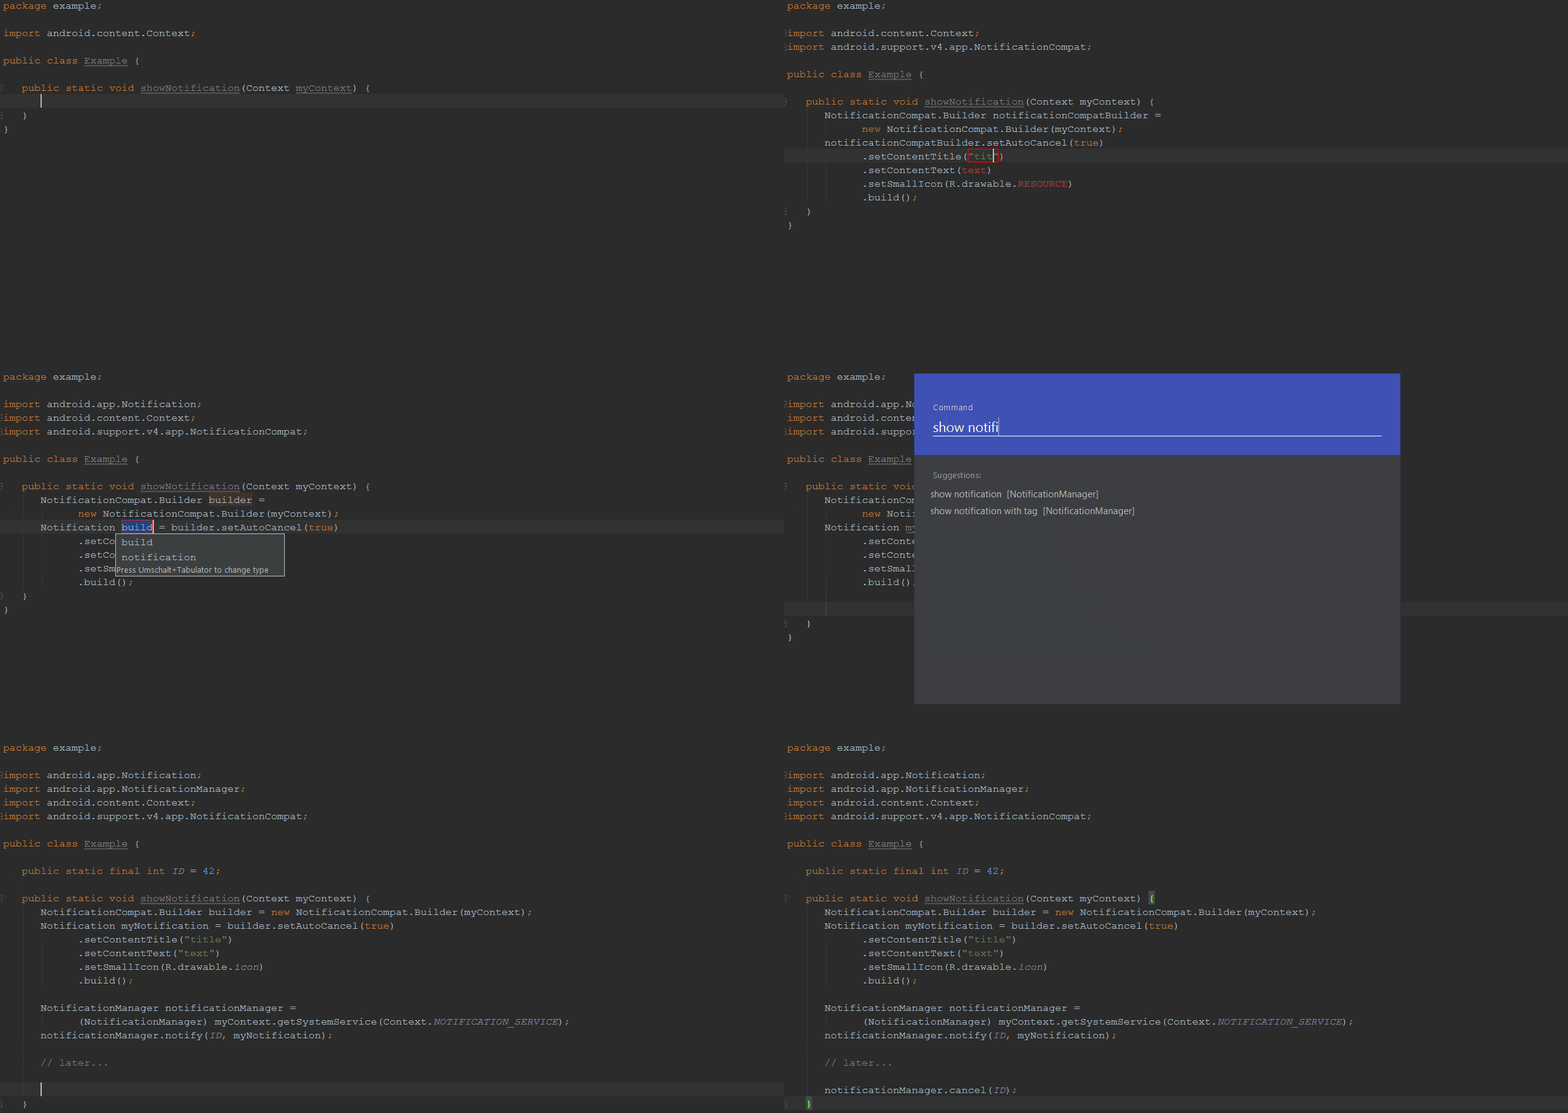
| create notification | Creates a new notification via NotificationCompat.Builder |
| replace fragment via FragmentManager | Replaces an existing fragment with a new one |
| set repeating alarm | Configures and starts a repeating alarm |
| send email | Sends an email |
| get preferences | Gets an instance of SharedPreferences |
| put string to SharedPreferences | Writes a String into SharedPreferences |
| create new Activity | Creates a new subclass of Activity |
| Create new Adapter | Creates a simple Adapter stub |
Show tons of examples

Community
Every user can add and edit public snippets.
Add a new Snippet:
- Click on Exynap » Add Snippet or type "add snippet" in the command window
- Enter an appropriate command (e.g. "create image downloader"). A command does always start with a verb (more similar commands will be populated automatically afterwards)
- Insert your snippet/code
- Click on Submit
Edit an existing Snippet:
- Click on Exynap » Edit Snippet or type "edit snippet" in the command window
- By default, you will see the last command that you have entered. You can replace the default values if you want edit another snippet
- Insert/modify the snippet/code
- Click on Submit
You can also enter a comment and email address. Both fields are optional and can be used for further information and clarification.
Support & Contact
Please use the Exynap Google+ community for bug reports and feature requests.
You can also write to me at this e-mail: contact ║at║ exynap.com (PGP Key)
Spread the Word
Exynap gets automatically better the more people use it - so please spread the word. Thanks ☺
About
Exynap has a vision to make software development easier and faster than it is presently. It has been developed by Andreas Schrade, an Android, A.I., smart technology and minimalism loving guy.
The next big release of Exynap will exponentially boost your experience of Exynap. Hence, stay tuned and follow its progress.